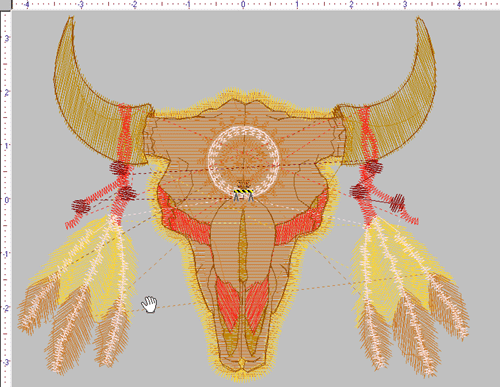
General view:
The embroidery is displayed in the centre of the screen when
the file is opened; please note the ruler gives the dimensions in centimetres
from the origin (start-point) of the design; the one below is approx 8cm x 6cm.

Measuring distance:
If you set your screen accurately (see tools/options/display
- set visible screen area in mm) you can then measure distances on your screen
with a ruler.
Alternatively you can do this on screen by selecting a point
and holding down the left click on your mouse and dragging mouse to the other
point; the measurements appear in the bottom LH corner of your screen.
Zooming and Panning Functions:
Additional viewing functions:
| Icon |
Features |
 |
Allows user to select, select all and
invert selection by clicking when an object is highlighted |
 |
Show and hide embedded objects
|
 |
Highlight the area to be embroidered
|
 |
Show stitch marks and show stitches up
to cursor functions
|
 |
Show objects and Show stitches buttons
|
Action functions:
3-D preview:
-
Press: key P or Control P and view design in 3-D against chosen
fabric background; the fabric type can be be changed in 'tool/options'
under 'general'; the fabric colour is specified in the Colour management
dialog
-
Please note that the entire view is displayed; ie; if you are in zoom mode then
only that section will be viewed.
|


